The other day I found myself thinking a silly thought.
“Does the washing machine ever need cleaning?”
My question is apparently quite valid. If you think about it some more, a washing machine removes all the grime and dirt particles from our clothes. Where do they all go?
Upon closer inspection of my washing machine, I came face to face with the harsh truth that:
a) There are dirt and grime build-up; and
b) The machine washes clothes but doesn’t clean itself
Pretty hard realities to accept, I know (especially letter B) but I’ve come up with steps to help clean your washing machine.
The Difference Between a Top Loading and Front Loading Machine
As we all know, there are two types of commonly used washing machines nowadays, the top loading one and the front loading machine.
The main difference between the two is that with a top loader, you have control whenever you want to pause it and resume its cycle at any time. This actually gives you more manual power over when to add ingredients in it, when you want the ingredients to soak into the clothes, or change the water levels present in it.
On the other hand, with a front loading washing machine, everything is more automated. Once you press the start button, the machine goes through its entire wash cycle and all you have to do is wait until it is finished.
What’s Causing All The Dirt Buildup In My Washing Machine
There are many reasons why dirt builds up in a washing machine, and these also come in many different places within it.
For a front loading machine, the gasket, which is the rubber around the door which forms a seal, is able to trap a lot of water in its lining. This makes it a good place for mold to grow in, as mold often grows in wet and damp places. It is very important to keep these places dry after each wash. The overuse of detergent is also a reason of dirt and residue buildup, and being able to just use measured amounts according to the number of clothes that you wash or how soiled they are is important.
Also, the use of liquid detergents and fabric softeners often cause a waxy and sticky buildup inside a washing machine’s drum, especially if the machine is used at low temperatures. People who also use hard water, or water with high mineral content, often have to contend with the buildup of limestone and soap residue which are often seen on the machine’s parts such as the pipes and hoses.
Steps for a Top Loading Machine:
Step 1 – Bleaching, soaking, and the first wash
First, you must fill the washer drum with hot water. After it is full, add 1 quart of bleach, and let this soak for about an hour. This will remove and eliminate mold and mildew present in the washer drum. After an hour has passed, run a complete wash cycle using hot water with the washing machine. Also, if you prefer not to use bleach for this step, an alternative you could use is 1 quart of hydrogen peroxide solution.
Step 2 – Soaking the washer with vinegar
Now, after the hot water cycle is done, fill the washer with hot water again but this time, you must add 1 quart of white vinegar. Let this soak then for another hour.
Step 3 – Wiping it all down
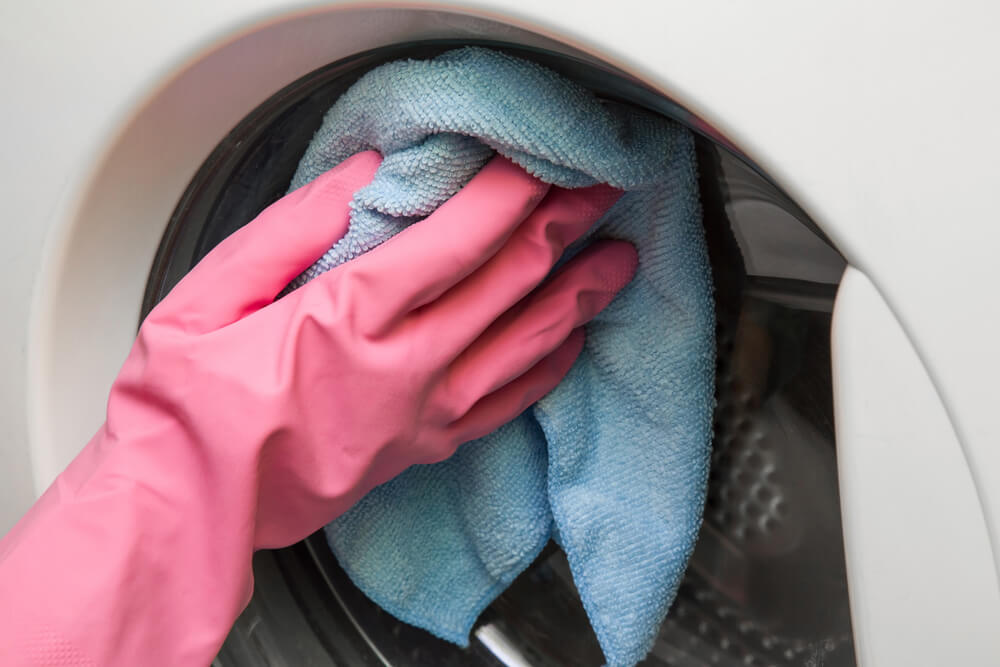
For the next step, you would need a microfiber cloth or sponge. You would need to dip this into the vinegar water solution. Be careful not to soak too much of the solution though, only wet it enough for it to be damp. You would then use this dampened cloth to wipe down all the corners, nooks and crannies of your washing machine. Particular spots of interest include the washing machine knobs, the lid, and the machine’s exterior including the base. If your machine has built-in dispensers for fabric softener or bleach, be sure to wipe those down as well. The solution is quite effective in removing and external dirt and residue buildup.
Step 4 – The second wash
After you’re done wiping down the machine’s exterior and letting the vinegar solution soak inside the washer for around an hour, run another hot water wash cycle with the machine. This would flush out the solution and any dirt that has been removed from the machine’s innards.

Steps for a Front Loading Machine
Step 1 – The vinegar wash
To start things off, prepare and add 2 cups of white vinegar to your machine’s detergent tray or pour it directly into the wash drum. After this, you must run a complete wash cycle using the hottest water setting possible. This is to get rid of mold and mildew found within the machine, as well as to dissolve any mineral deposits from using hard water.
Step 2 – The bleach wash
After the initial wash cycle is finished, you must now prepare and add 2 cups of bleach to your machine’s detergent tray or pour it directly into the wash drum. With this, you must then run another hot water wash cycle. This time, it is to remove any stains and eliminate germs that may be found in the wash tub. Also, if you prefer not to use bleach for this step, an alternative you could use is 2 cups of hydrogen peroxide solution.
Step 3 – The rinse cycle
Once the second wash cycle is complete, you must now run an additional rinse cycle. This step is to flush out any remaining grime or residue within the machine.
Step 4 – Cleaning the detergent tray
After the rinse cycle is done, you must now remove the bleach dispenser, fabric softener dispenser, as well as any other removable parts from your washer’s detergent tray. After this has been completely detached, you must now fill a bucket with warm, soapy water. You would then drop and submerge the detergent tray pieces into the bucket and let them soak there for around 5 minutes. While submerged, you could then clean each piece thoroughly using a sponge or cleaning rag. After each part is thoroughly scrubbed of any dirt or residue, you can then dry them, and then return them to their original position in your detergent tray.
Step 5 – The finishing touches to the clean up
For the next step, you would need a microfiber cloth or sponge. You would need to dip this into a vinegar water solution or a solution of ¼ cup of bleach and 1 quart of warm water. Be careful not to soak too much of the solution though, only wet it enough for it to be damp. You would then use this dampened cloth to wipe down all the corners, nooks and crannies of your washing machine. Particular spots of interest include the rubber seal and the machine’s exterior including the base. The solution is quite effective in removing and external dirt and residue buildup. After this, use a damp cloth to wipe down the outside of your machine until everything is dry.

Yay! Your Machine is Now Clean!
It’s pretty ironic to be cleaning a machine that does the cleaning for you. Cleaning a washing machine isn’t exactly rocket science, although many seem to be clueless or unaware of the need to do this. I know I was one of them. As an indispensable appliance in your home, it is worth knowing how to maintain the washing machine.
As with many appliances, all you need is a thorough wash down, manually cleaning the parts both inside and out, paying particular attention to those specific parts where dirt and residue build up. Also, if the situation of the machine is quite bad, don’t expect it to be squeaky clean after just one washing as you would need to do this several times. What a chore to do!
Being very busy mums ourselves, Pristine Home understands that cleaning can sometimes take a backseat. You don’t need to worry about slaving away just to keep your home neat and tidy. Our highly-trained professional cleaners can swing by your home any time you see fit – may it be on a weekly, fortnightly, or monthly basis. Setting an appointment is also a breeze as it can easily be done online in less than 60 seconds. Keep stress at bay and let Pristine Home do the cleaning for you.

